Pages

Sunday, December 25, 2022

Cheers!

  Hello everyone! I hope you all had a beautiful Christmas Day, if you celebrate. Today I'm here to help you jump ahead one week and ring in the New Year!


This is very much a clean and simple card that was very quick to throw together. I used fun stamps from Chou and Flowers "Cheers" stamp set. I colored each image with Copics and fussy cut. I adhered the images directly onto my card base and stamped the cute and tiny sentiment "party time" in Onyx Black ink. Easy Peasy!


Happy New Year!

Sunday, December 18, 2022

Season's Greetings!

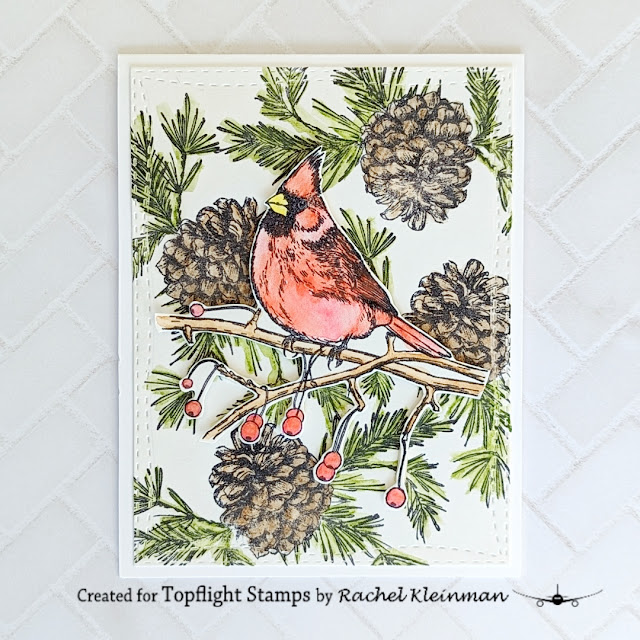
  Welcome back and happy holidays to everyone! Today I'm sharing a holiday card that features stamps from Katzelkraft that can be found in the Topflight Stamps store.


First I stamped the Pinecones stamp with Archival Black Ink onto mixed media paper. I then used Distress Watercolor Pencils to loosely color in the background pinecones. On a separate piece of paper, I stamped the Cardinal stamp and also colored with watercolor pencils. I fussy cut the cardinal image and popped him on the panel with foam adhesive.


This is a great winter card that isn't holiday specific, and watercoloring the images means that it was easy and quick to create!

Happy holidays!

Sunday, December 11, 2022

Peguinning to look a lot like...

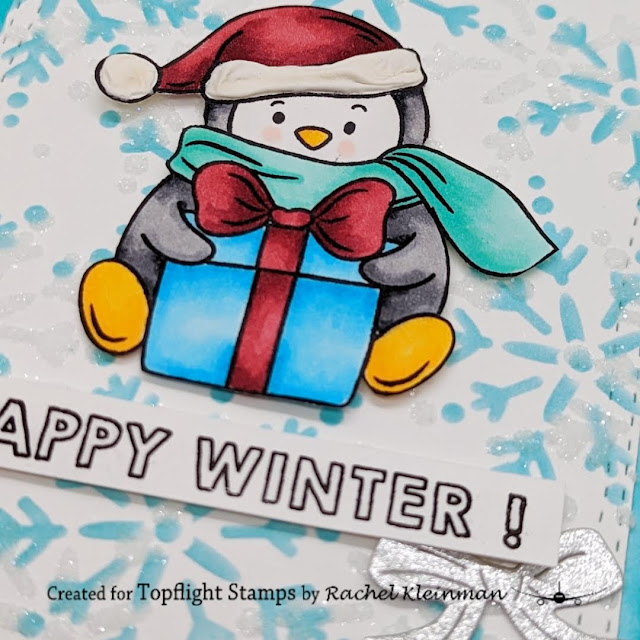
  Welcome back to another Topflight Stamps post! Today I'm sharing a sweet winter card featuring an adorable penguin friend. It's definitely down to the wire in getting this holiday cards finished... I have about 20 more to go (eek!)


The penguin is from the stamp set "It's Penguinning" by Crafter's Companion. The large image is very easy to color and fussy cut! I colored this penguin with my copic markers and fussy cut with my Cutter Bee scissors.


For the background, I inked up the stencil from Paper Artsy called Snowflakes. First I inked it with Salvaged Patina Distress Ink, and then I turned the stencil and went over it with Liquitex gloss gel medium. I then added Rock Candy glitter over the top. It makes a great snowy and icy look for the penguin to hang out :)


Thanks for stopping in! Good luck finishing your holiday creations!

Sunday, December 4, 2022

P is for.... Birthday! Birthday Card

 Welcome to the first full week of December! I have a card today that takes a bit of a break from the holiday themes going on. If your family is anything like mine, you have a TON of September birthdays and then a TON of December birthdays... time to restock the birthday cards!


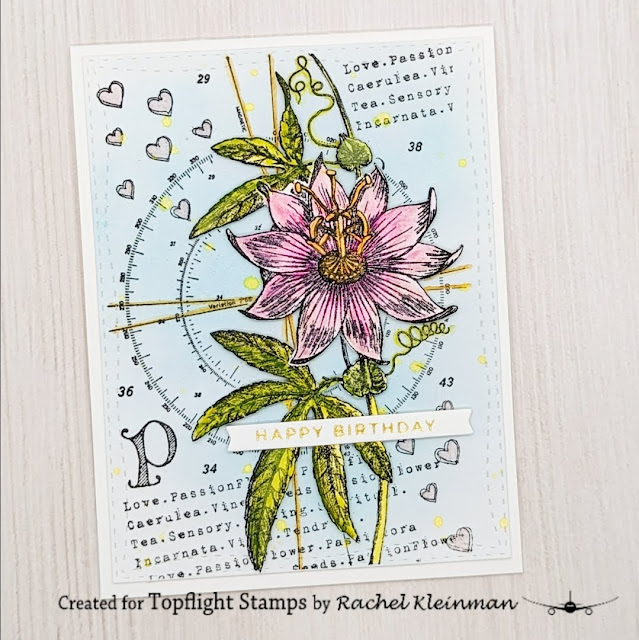
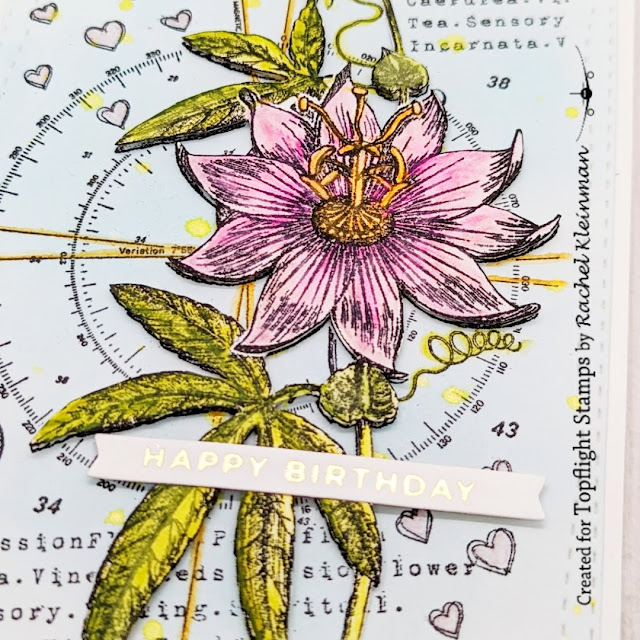
 I grabbed this Crafty Individuals stamp called P is for Passion from the Topflight Stamps store on a whim, and I have to say... I'm so glad I did. This card came together quickly and I will definitely be making multiples!


I ended up stamping the same stamp on two different mixed-media paper panels, using Versafine Onyx Black ink. With one panel, I simple inked the whole thing with Speckled Egg ink to give a slight color to the background. I also used Distress Watercolor Pencils to watercolor the little hearts in light pink and then splattered the panel with Lavinia Bumble Bee mica spray.


On the second panel, I only watercolored the flower portion and then fussy cut it with my Cutter Bee scissors. I adhered the fussy-cut flower to the base panel with foam tape, then added the foiled sentiment strip.


Thanks for stopping by and happy crafting!

Sunday, November 20, 2022

Holiday Gift Tags

  Hello again! I hope you all had a lovely Thanksgiving holiday filled with family and happy memories. Today I'm sharing some sweet gift tags. The tags feature stamps from Jane's Doodles and inks from Prism Ink.


I started by stamping these sweet images from Merry Mice by Jane's Doodles. I colored all images with Copic markers and cut using my Brother Scan n Cut.


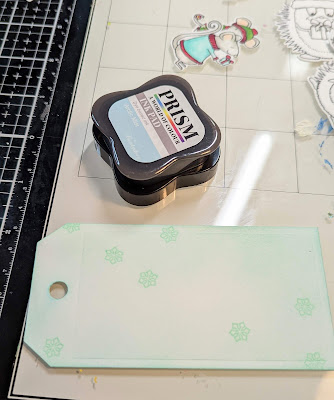
I shaded this tag with Prism Ink in Arctic Mist. I then assembled the little mice and stamped the sentiment on a banner. I also bordered this tag with holiday paper from Polkadoodles.


The next tag is shaded with Rainforest Green Prism Ink and the mice assembled on top.


For the last tag, I used a foiled piece of cardstock from my stash. The little die cut circle was shaded with Prism Ink in Red Brick.


Thanks for stopping by!

Sunday, November 13, 2022

Bob the Cat was Stirring...

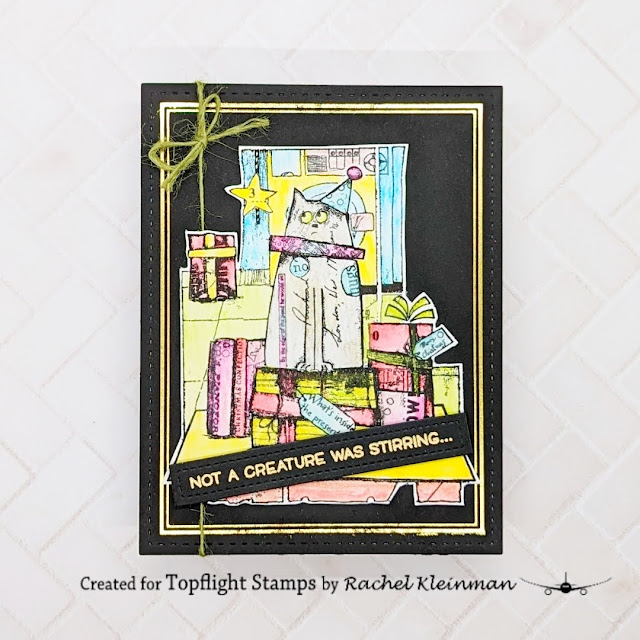
 Hello and welcome back! I've been working on a lot of holiday cards to try to get ahead of the rush after Thanksgiving. Today I'm on the Topflight Stamps blog sharing this fun Bob the Cat card :)


First I stamped Bob the Cat with Versafine Ink on watercolor paper (I prefer Strathmore). I colored the image with Distress Watercolor Pencils and then fussy cut. When I'm in a hurry to color an image I like to use my water brushes for convenience.


I've been practicing using my Spellbinders Glimmer Hot Foil system. I'm getting the technique down and even embracing slight imperfections, like this one. I still love the added shine! I used Spellbinders hot foil Duo Essentials Rectangle plate and gold foil.


I then die cut with my Sizzix Big Shot and Waffle Flowers A2 Lacy Layers die.


Next I heat embossed the fun sentiment with a stamp from Lawn Fawn 'A Creature was Stirring' and Hero Arts gold embossing powder. I used the smallest die in the Lawn Fawn Mini Slimline Stackables to die cut the sentiment... it ended up being the perfect length!


Now it's all ready to be put together! I tied a small bow with green twine and glued the panel to the card base.


Thanks for stopping by!


Sunday, November 6, 2022

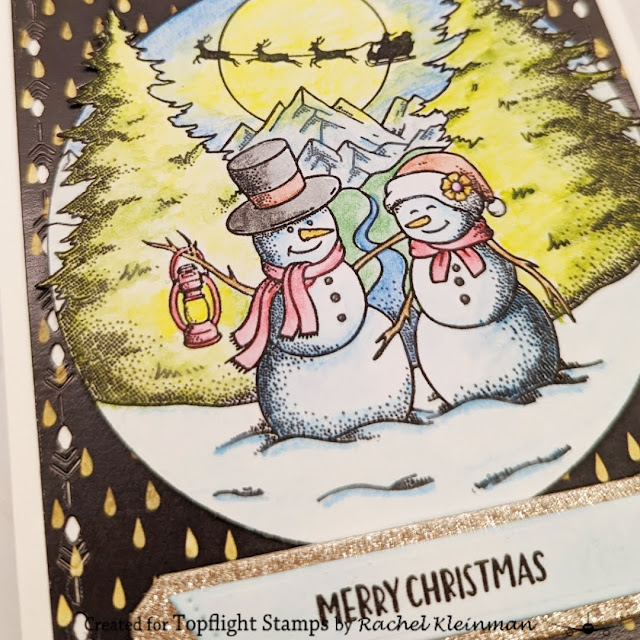
Snow Buddies Christmas Card

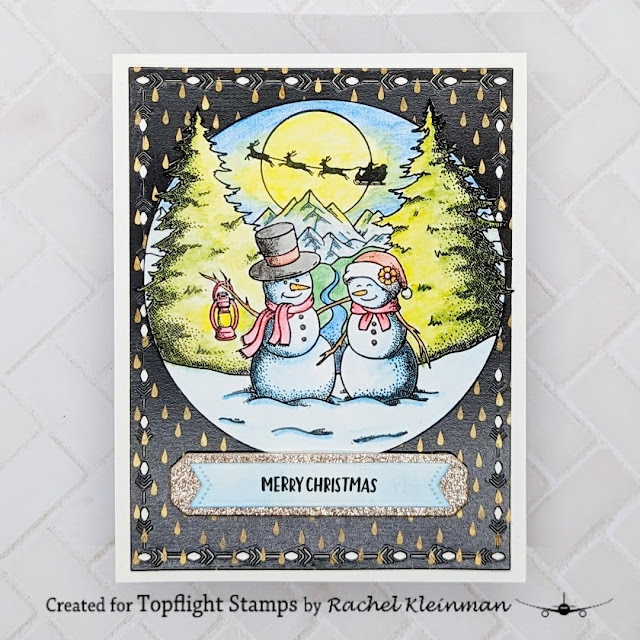
  The days are shorter and colder, so it's a good time to hunker down in the craft room. Today I'm sharing a snowman themed holiday card using Studio Light stamps from the Topflight Stamps store.


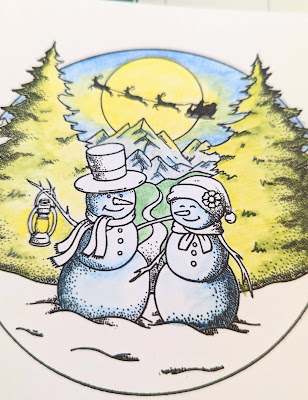
I started by stamping Studio Lights 'Snow Buddies' stamp on watercolor paper with Versafine Onyx Black ink. This stamp only took one press and it stamped beautifully!


I was really excited to use my Distress Watercolor Pencils for the first time. They are so easy to use and blend. I am looking forward to using them more and more!


I then started to color the image. I tried to add some highlights coming off from the moon and the lantern. Finally, I fussy cut the image with my Cutterbees and started to put the card together.


I die cut the panel using this beautiful paper pad from Paper Favourites called 'Gold Drops'. I picked the darker paper pattern to add to the night time feel of the image.


For the sentiment, I die cut beautiful glitter paper from Studio Light called 'Vintage Christmas Glitter'. I popped up the sentiment die with foam tape.


I will definitely be creating more cards with this stamp. It's so large and makes cardmaking easy. Thanks for stopping by!

Sunday, October 30, 2022

Happy Halloween!

  Happy Halloween everyone! I have one final Halloween card to share with you all before we start to dive into the winter holiday season.


I started by stamping and embossing the leaves background. I used the Crafty Individuals 'Falling Leaves' stamp and heat embossed it with Wow! 'Golden Glow' powder. I also shaded the edges of the cardstock with some brown Distress Ink in Antique Linen. The cardstock panel was die cut with Waffle Flower Scalloped Square Dies.


The darling little werewolf stamp is from Polkadoodles 'Happy Howl-oween' stamp set. I also used that stamp set in this fun Halloween card from a couple weeks ago. I colored the images with Copic markers and fussy cut to add to the card.


Thanks for stopping in and have a fun and safe Halloween night!


Sunday, October 23, 2022

Doe a Deer Christmas Card

  Hello everyone! I know it's spooky season, but in the card world it's time to work on holiday projects! Today I'm sharing a sweet reindeer card...


I used the stamp Doe a Deer by Creative Expressions to create this card. I stamped the imagine twice on mixed media paper. On one panel, I watercolored only the deer with my Kuretake Gansai Tambi set and then fussy cut her out. 


On the second panel I used Lavinia Mystical Mists as watercolors to paint the snowflakes and berries. I used the Mists in Amble Green, Fruit Sorbet, Kingfisher, and a little bit of Blue Moon.


I then added foam strips to the reindeer and popped her up on the card panel.


I finished it off by adding white gel pen dots around the deer spots. It all came together pretty quickly and she's such a cutie! Thanks for stopping by.

Sunday, October 16, 2022

Interactive Halloween Card

  We are right in the middle of Spooky Season! Today I'm sharing an interactive Halloween card featuring supplies found at Topflight Stamps. This is my first time creating this type of card, and the results are so much fun.


Here's a quick little video to show the batty in action...


The card features the Halloween 1 stamp set from Creative Emotions. You've seen me use this set before on this fun card! I stamped and colored the bat and pumpkins with Copic markers. I also got started on the basic mechanism pieces for the card movement. This interactive card uses the Lawn Fawn Swish n Pop die... I've owned it for well over a year and finally got brave enough to try it!


Next I die cut a grassy edge using Lawn Fawn Grassy Border die from green paper and shaded it to make it have more spooky vibes. The ink blending uses Distress Inks Peeled Paint and Hickory Smoke.


I also heat embossed the sentiment in white. 


I then ink blended a sunset sky for the background. The inks used are Distress Oxide Seedless Preserves, Distress Ink Spiced Marmalade, and Distress Oxide Wild Honey.

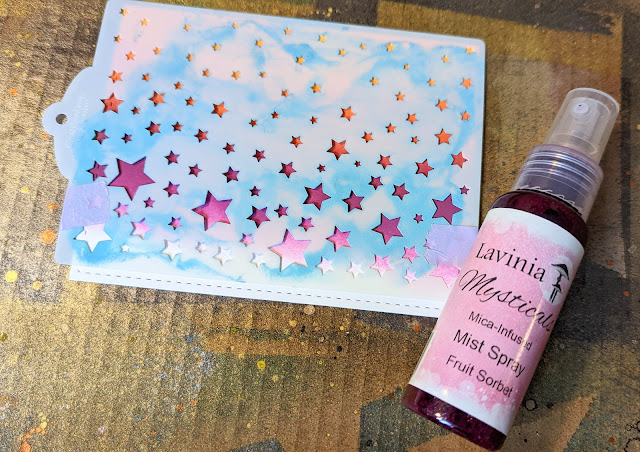
Next I used the Craft Emotions Starry Sky stencil and sprayed Lavinia Mystical Mist in Fruit Sorbet to add a bit of detail to the background...


Finally, I assembled the pumpkins to the grass and added the bat to the moving mechanism. It's ready to be glued to a card base! I used my trusty Tombow Mono Multi Glue.


And now the finished card! It's so cute and that silly bat cracks me up. He's just so derpy.


Thanks for stopping in! I hope it helped you get in the spooky spirit :)